
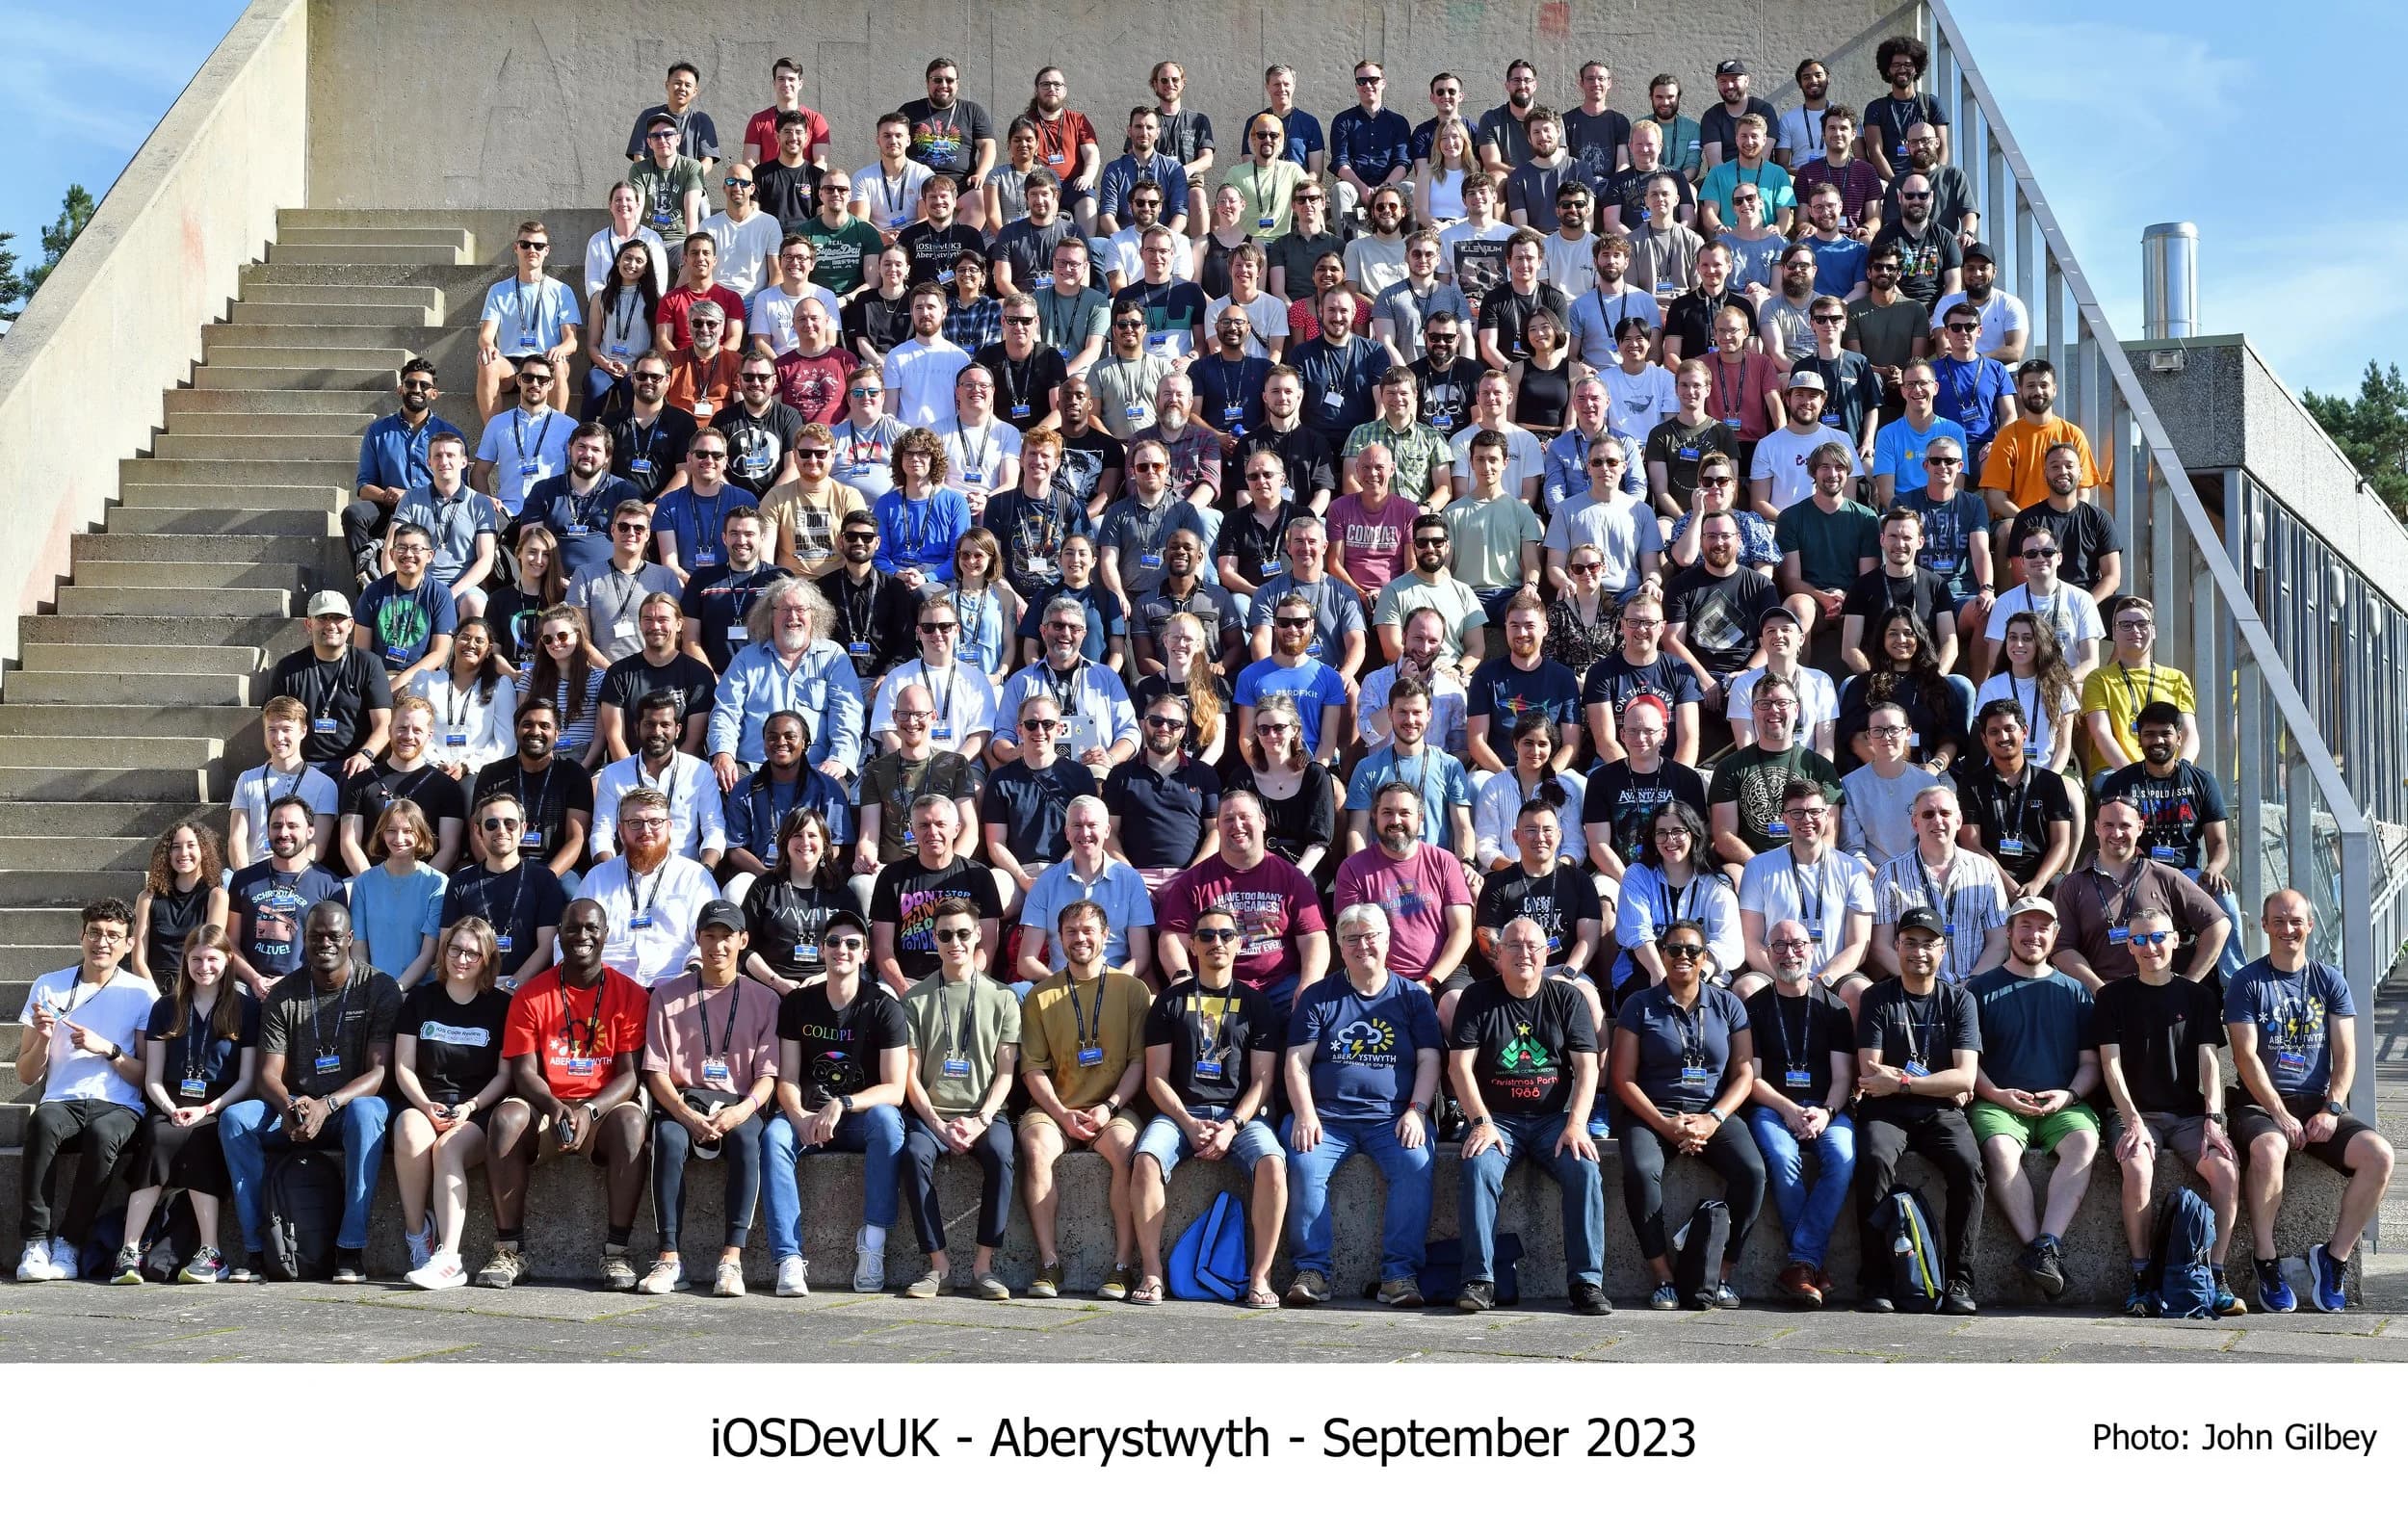
I only started taking iOS development seriously two years ago, after I attended iOSDevUK at Aberystwyth University(my alma mater) and met so many talented engineers. I fell in love with Apple’s design principles and the Human Interface Guidelines because deep down it felt good to finally understand why Apple’s UX feels so friendly and nice. And getting to be part of a vibrant community where people care about building not just cool features but features that work for everyone.
I was also genuinely grateful for the sponsorship that got me there. It’s hard to describe how motivating it is to be in a room where people are building for everyone, not just the happy path.
At the event, one of the moments that stuck with me most was seeing how approachable accessibility can be in SwiftUI. Not perfect, not automatic, but approachable. You add a label. You group elements intentionally. You stop fighting the system and start telling it what you mean. The awkward part is what that made me realise: a lot of us aren’t “bad at accessibility,” we’re just not testing it. We rely on what we can see, and that’s not the same thing as what the system can understand.That was the moment I started asking myself: why don’t more of us do this properly?
My answer (for now): we don’t test enough.
So this guide is the workflow I wish I’d internalised earlier: a repeatable way to test iOS accessibility every sprint using both the Simulator and a physical device. It’s hands-on, it’s opinionated, and it’s designed to catch the issues that slip through when you only validate UI visually.
Why this matters on iOS
The trap with iOS is that you can do a lot “correctly” and still ship confusing experiences for people using assistive tech. The platform gives you strong defaults, but defaults don’t cover intent. A button can be tappable and still be ambiguous. A custom control can look gorgeous and still be semantically invisible. A validation error can be on screen and still be silent.
Accessibility work pays for itself in the same way unit tests do. You catch cheap issues early, you stop reintroducing regressions, and you end up with interfaces that are clearer for everyone.
Simulator vs device: use both, for different reasons
The Simulator is where you move fast. It’s ideal for tight feedback loops while you’re building UI, quick regression checks, and validating things like focus order, labels, Dynamic Type behaviour, and whether you’ve accidentally created “ghost” elements that can be focused but shouldn’t exist.
A physical device is where you validate reality. Real gestures, real speech cadence, real interruptions, real performance. This is where you notice friction. It’s also where you sanity-check the things that are hard to model in a dev loop: how VoiceOver feels when you’re tired, in a rush, or using the phone one-handed.
If time is tight, start in the Simulator and treat device testing as the release gate.
Step 1: Turn on the tools you’ll actually use
You don’t need a lab. You need three habits.
First, turn on VoiceOver and commit to navigating via focus instead of tapping where you “know” something is. The point isn’t to prove the screen works. It’s to find where it stops explaining itself. Oh heads up, VoiceOver isn't available on a Simulator 😭
Second, use Accessibility Inspector (it ships with Xcode’s tooling). This is the quickest way to answer: “What does the system think this element is?” That question solves an embarrassing number of arguments before they start.
Third, check Dynamic Type and the main visual accessibility settings early and often. If you only test at default text size, you’re testing one user.
Step 2: Navigate the screen
This is the core loop. It’s simple, and it’s uncomfortable at first.
Open a screen, turn on VoiceOver, and move through it in the order the system gives you. Don’t rescue yourself visually. Don’t skip the “boring” elements. Follow focus until you either complete the task or you get stuck.
When you get stuck, you’re usually stuck for one of a few reasons.
Reading order is illogical
If focus jumps around, users lose their mental model. The UI might be “obvious” visually, but VoiceOver users are building the screen in their head as a sequence. If that sequence is chaotic, the experience is chaotic.
This is especially common when you have multiple columns, floating buttons, overlays, or anything that visually “breaks” the linear flow. It’s also common in custom layouts where you’re relying on stacking and z-index tricks.
A rule of thumb I use: the primary action should be discoverable without hunting. If it takes ten swipes to find “Continue,” you’ve built a puzzle.
Controls don’t say what they do
This is where you catch unlabeled icon buttons, ambiguous labels like “More,” and situations where multiple controls announce the same thing.
The fix is usually not hard; it’s just neglected. A meaningful label. A hint when the action isn’t obvious. A decision about whether something should be accessible at all.
One subtle thing: naming is UX. “Add” is rarely enough. Add what? To where? “Add passenger” and “Add adult” are different levels of clarity, and VoiceOver forces you to pick.
State isn’t exposed
A control without state is a coin flip.
A toggle should say on/off. A selection should say selected. A stepper should expose its value and announce changes. A disclosure should expose expanded/collapsed. If the user can’t tell what changed after an interaction, the UI becomes distrustworthy.
This is where custom controls fail most often. The moment you stop using platform components, you take ownership of semantics. That doesn’t mean “never build custom UI.” It means custom UI needs the same quality bar as visuals.
Feedback is silent
On iOS, it’s easy to show feedback visually and forget that assistive tech needs an announcement or a focus change to perceive it.
Form errors are the classic. Loading states too. Success banners. Inline validation. Any asynchronous update that “appears” without being spoken might as well not exist.
When you test, intentionally trigger the messy paths: submit invalid forms, cause empty states, lose network, retry, cancel, and recover. The happy path is rarely where accessibility breaks.
Step 3: Test the iOS settings that quietly break layouts
Most teams only discover these when users complain. You can discover them in five minutes.
Dynamic Type
Set text to large and open the app like a normal user. Don’t immediately go hunting for broken screens. Just use it. If you see truncation, overlapping, clipped buttons, or text that becomes unreadable, you’ve found a real product bug.
The most common failure mode here is designing a layout that only works when text is “small enough.” Dynamic Type forces you to admit whether the layout is resilient or brittle.
Contrast and legibility
Turn on Increase Contrast and differentiate without color where possible. Then look at the screens you’re most proud of — the ones with subtle grays, soft dividers, and tasteful disabled states. Those are often the first to become ambiguous.
If your disabled states rely on “slightly lighter gray,” you’re making a bet against reality. Also, if you think your app looks banging just turn on dark mode lol.
Reduce Motion
Reduce Motion isn’t just a preference. It’s a requirement for some users. If your UI relies on motion to communicate state (think sliding panels, animated reorders, subtle transitions), you need to ensure state is still obvious without the animation.
A good test is to enable Reduce Motion and then run through the flow that uses the most animation. If the screen becomes confusing, you were using motion as explanation.
Step 4: Use automated checks like a teammate, not a judge
Automated tooling won’t certify your app as accessible. What it does do is catch predictable mistakes and save you from wasting time on obvious regressions.
Accessibility Inspector can flag missing labels, incorrect traits, small hit areas, and focus problems that are painful to detect by feel alone. It also gives you a way to talk about issues with precision: “This element has no label,” is better than “something feels off.”
On the engineering side, treat accessibility as something you can assert. If you have UI tests, stable identifiers matter. If you have CI, warnings matter. If your app is large, regression control matters. You don’t want “we fixed accessibility last quarter” to be a sentence anyone can say with a straight face.
Step 5: Map what you found to WCAG (so the work sticks)
If you’re working alone, you can skip this. If you’re working with a team, this is how you stop accessibility work being treated as vibes.
Use WCAG as a translation layer between what you observed and what needs to be fixed.
Perceivable is where text alternatives, contrast, and scalable text live. Operable is where focus order, touch targets, and gesture alternatives live. Understandable is where clear labels and error recovery live. Robust is where semantics and compatibility with assistive tech live.
You don’t need a compliance report. You need shared language. Once you have that, the conversation changes from “should we care” to “which criterion did we fail and how do we verify the fix.”
Step 6: Make it repeatable (or you’ll re-break it)
Accessibility regressions are normal. The mistake is acting surprised by them.
A cadence that works:
- While building a feature, do a quick VoiceOver pass on the screen you touched.
- During QA, repeat the pass on your key flows (login, purchase/booking, messaging, creation flows).
- Before release, do device validation with VoiceOver and Dynamic Type on at least one representative device.
- After redesigns, assume regressions and schedule time accordingly.
Also, track accessibility bugs explicitly. If they get lumped into “UI polish,” they’ll be deprioritised until a user forces the issue.
The issues you’ll keep seeing (until you make testing a habit)
If you test regularly, the patterns repeat.
Icon-only buttons without meaningful labels show up constantly. Custom controls that don’t expose value or state show up constantly. Focus order issues in modals and sheets show up constantly. Dynamic Type breakage shows up constantly. Visual-only feedback (especially errors) shows up constantly.
The fixes aren’t usually complex. The hard part is noticing them early enough that they feel like normal engineering, not a late-stage emergency.
Final thoughts
The most useful mindset shift I’ve had is this: accessibility isn’t an extra feature. It’s the interface telling the truth about itself.
When you test with VoiceOver and accessibility settings, you’re not doing charity work. You’re doing product work. You’re finding the places where your UI depends on assumptions the user might not share.
And the more you test, the less dramatic it feels. It stops being “an accessibility audit” and becomes what it should be: a normal part of building software for humans.